Producing your own music can be extremely rewarding and fulfilling. Being able to write, record, and release your own songs is a satisfying process. But it can also be really overwhelming.
Where do you start with all of the equipment, software, and know-how? There’s a wealth of information and tutorials on the internet, but sometimes that just contributes to the noise.
Luckily, we’ve got you covered. We’ve written a handy guide to music production that will help you get started. Read on to learn more!
What Genre?
Different genres have different instrumentation, songwriting styles, and overall workflow. Producing hip-hop songs does not use the same equipment or knowledge as producing metal.
Determining the general direction you want to go in will help inform your music producer journey. If you want to do it all eventually, this guide still covers the bare basics that you’ll need no matter what genre you’re in.
Gear Basics
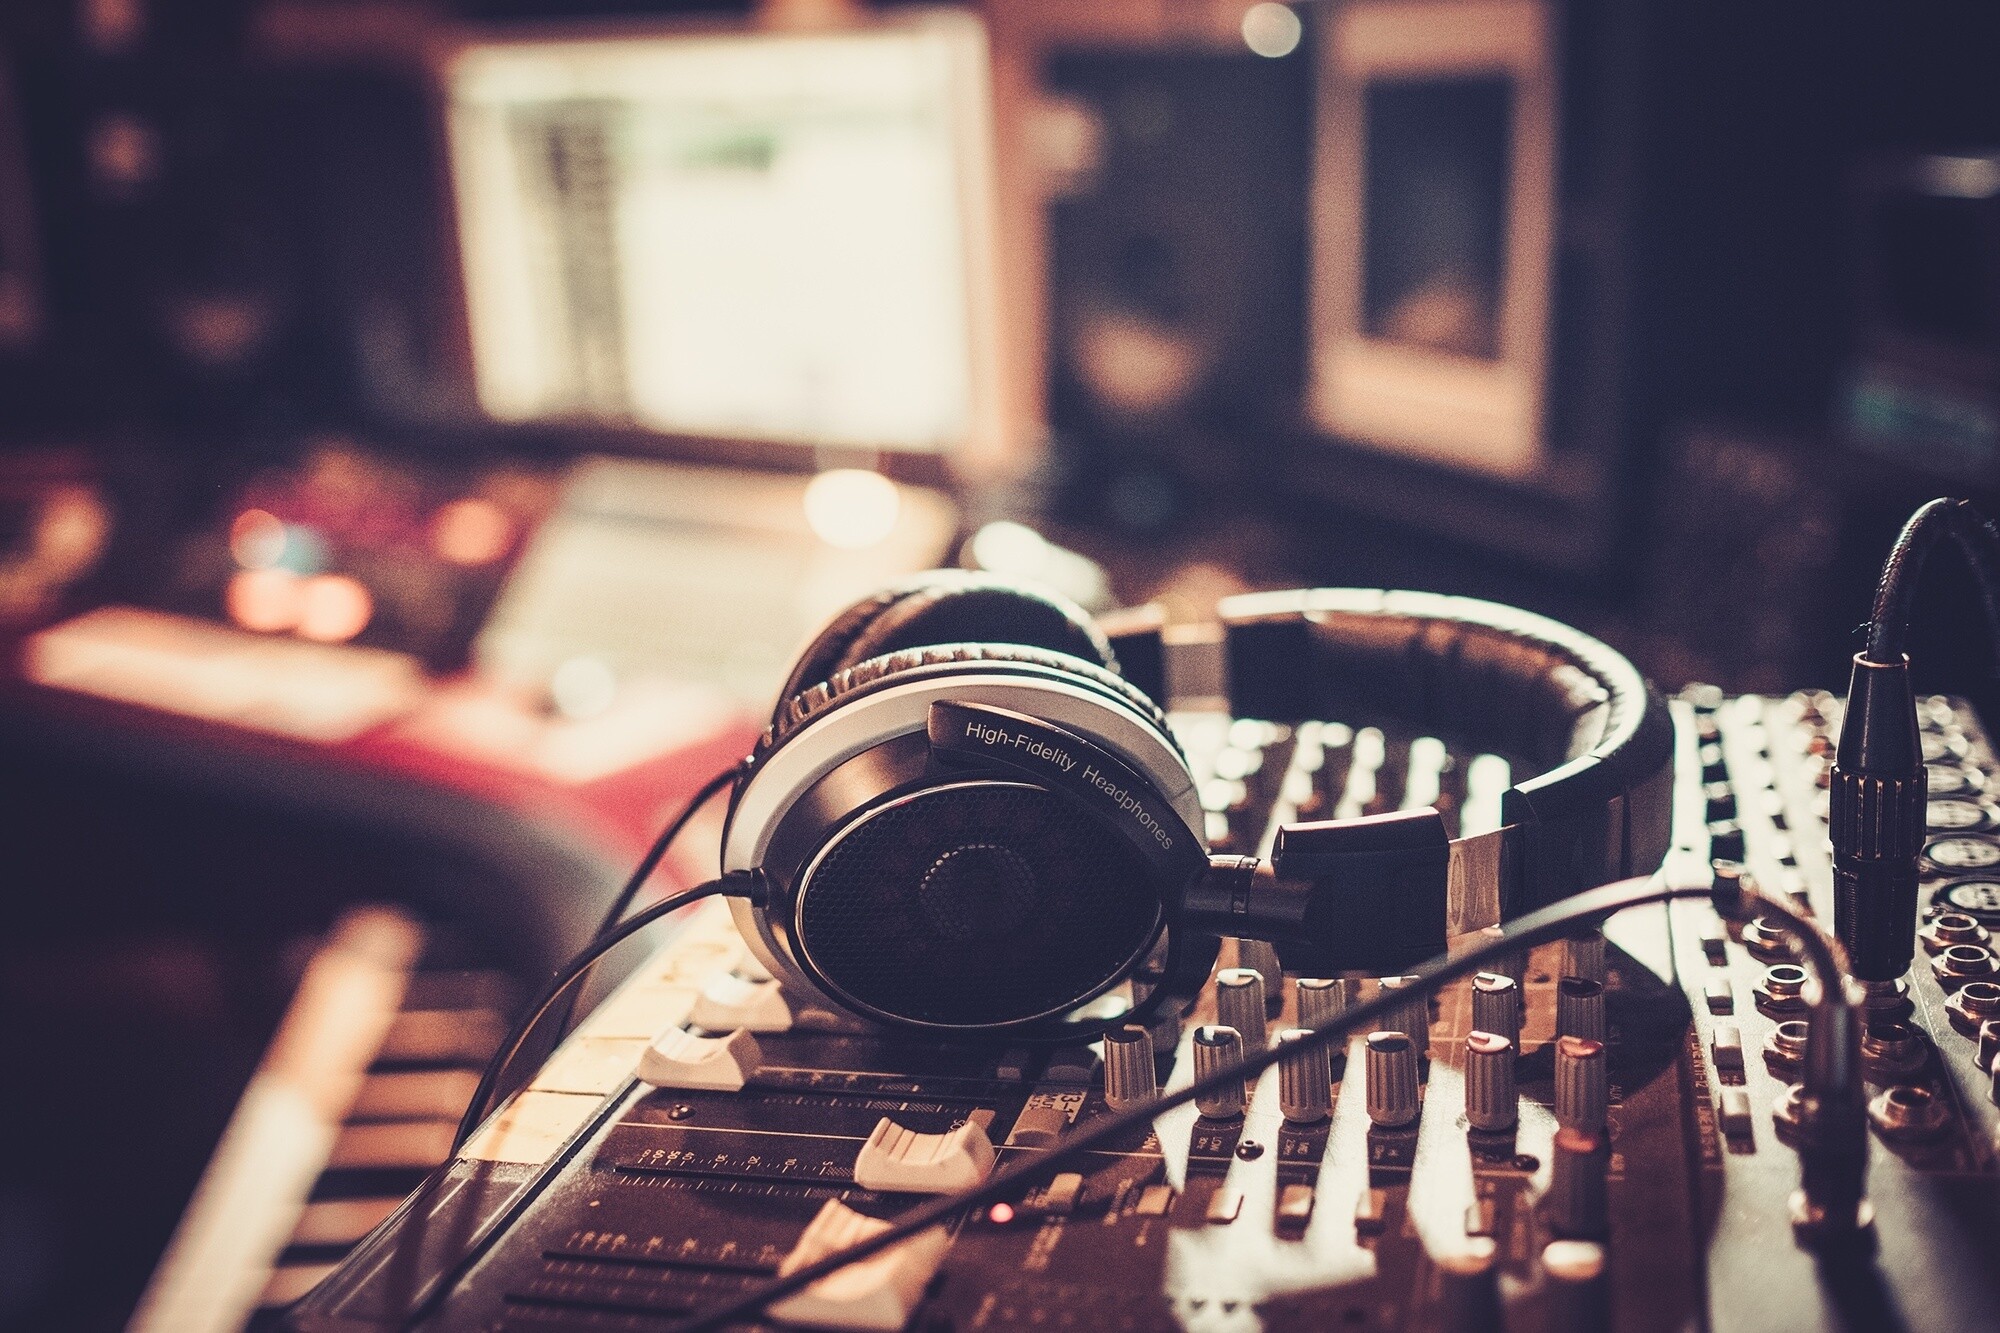
The first step in music production is having gear that helps you do the job. No matter what your budget or genre, there’s a huge variety of equipment available to you.
Interface
The first purchase most new producers make is an interface. This is a device that allows you to record signals from microphones or instruments into your computer.
Interfaces take analog signals (such as a voice or an electric guitar) and convert them to digital signals. The better the conversion, the better the sound.
Luckily, even entry-level interfaces these days have great sound quality. Focusrite interfaces are the most popular choice for home studios.
If you need to track multiple inputs at once (for example, a drum kit), you’ll want an interface with more inputs. It’s always best to buy more than you think you need at first because you’ll always want more later.
Microphones
After the interface comes the microphones and cables. There are two common types of microphones: condenser and dynamic. Condensers are more sensitive and good for acoustic instruments and vocals.
Dynamics are great for louder sound sources such as electric guitar amps or loud vocalists. There are other types of microphones such as ribbons and tubes, but those are pretty specialized and generally expensive.
Controllers
If you are going to be doing any composition in your DAW such as making beats, you’ll want a MIDI controller. Controllers come in many formats such as keyboards or beat pads. Be sure to buy one that meets your needs.
Choosing a DAW
The next step in your music production journey is choosing a DAW, or Digital Audio Workstation. This is producing software that allows you to make music by recording and mixing your tracks.
Different DAW software has different features. If you lean more towards electronic-based production, Ableton Live, FL Studio, or Reason are better choices as they cater to these genres.
If you are doing more live instrument recording, ProTools is an industry-standard DAW. It can be expensive though. Reaper is a cheaper alternative that is just as feature-filled. Logic for Mac users is also a popular choice.
There are some less-popular DAWs that cater towards people working in composition or production for video games and movies. These include Cubase and Digital Performer.
Basics of Recording and Mixing
Learning to record and mix well is an ongoing skill. There is an infinite ceiling and fairly high floor to this specific skill, and it takes a lot of practice. Trial and error are common, but you can get started on the right foot.
Recording
When recording vocals, make sure to position the mic correctly. If you are using a condenser, it should be about a foot away, and slightly higher than your mouth.
Using a pop filter or screen is a good idea. This will filter out plosive sounds and also keep your mic free of spit.
If you are recording instruments, you will likely need to experiment with microphone placement. If you use multiple microphones, be sure to check for phase issues. The sound will be thin and strange if it is out of phase.
Don’t be afraid to experiment with different microphones and placements. Sometimes the “wrong” microphone can be the right one for the job.
Mixing
There is a lot of work that goes into mixing. However, you can go a long way by learning three basic things: equalization, compression, and gain staging.
Gain staging is properly setting the gain (or volume) of your instruments and microphones. You want a strong signal in your DAW that is not clipping (turning red).
Try to set your gain where your signal peaks in the yellow zone. This will save you from having to boost your signal later, which introduces noise and hiss.
Equalization is using an EQ to sculpt the frequencies of a signal. On all of your tracks, put a low-pass filter on. This will reduce low-end mud and “boominess” in your tracks and really clean up the sound.
For bass and kick drums, set this filter at 20 hertz. For guitars and vocals, this should be set anywhere from 60-100hz, depending on how low the notes go.
After setting a low-pass filter, you’ll need to mess around with EQ-ing out frequencies to make your tracks fit together. An EQ chart can be a good way to start. It’s better to cut out the bad stuff than boost what’s not there.
Finally, you’ll need to learn the basics of compression. Compression levels out your signal, making the quiet parts louder and the louder parts quieter.
Different instruments need different levels of compression. You can also use compression to sculpt the sound. This is something that is highly subjective and different for every mix, so play around!
Developing Your Skills
Learning music production is an ongoing endeavor. Don’t be afraid to make mistakes. The more practice you have, the better you will get.
Compare your tracks to professionally-produced tracks in your genre. This will give you a good idea of what you need to tweak and change. It will also train your ears in what to listen for while you’re mixing.
Don’t get hung up on constantly buying gear. Better gear does not automatically mean better music. Focus instead on building your skills. You will know when your gear is holding you back once you improve.
Beginning Music Production
Learning music production is a very fun and rewarding process. And with today’s recording technology, it’s easier and cheaper than ever to make music in your own home.
If you’re looking for more information on music production, we’re here to help! Check out our free sample packs and other articles on music production.
Author: Mike P
Hi! My name is Mike! I’ve been an apartment producer/musician for 10+ years. I’ve played in punk bands, released EDM tunes on Beatport and iTunes, and have a semi-successful stock music portfolio. Read more…


