If you’re anything like me, the Ableton Test Tone section in the preferences was a mystery. For the longest time, I’d wondered what the purpose of these settings was.
Let’s unravel this mystery together and find out how to use the Test Tone to find your soundcard’s optimal settings.
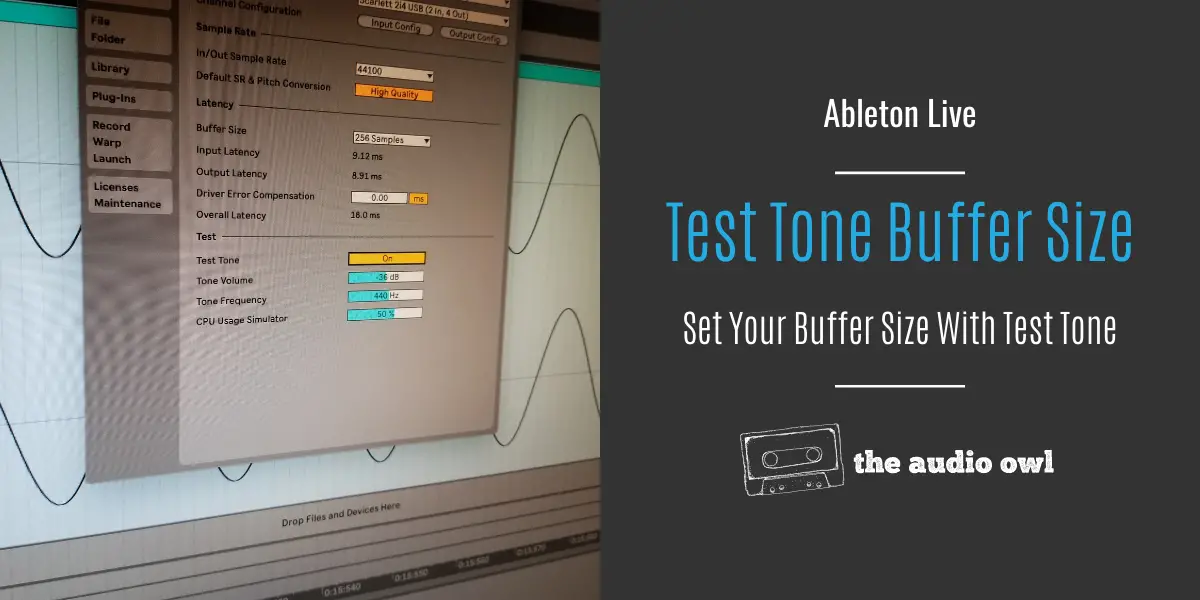
What Is The Test Tone?
The test tone section can be found in the Ableton preferences menu. Click on the Audio tab and look towards the bottom.
Its primary use is to help you choose the correct settings for your audio interface.
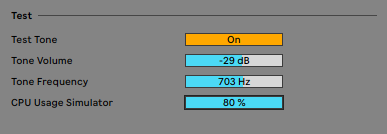
At the top of these settings is an on/off button. This turns the test tone on and off.
Below are the settings for the volume and frequency of the test tone. The test tone itself is a sine wave.
Finally, we have a CPU Usage Simulator. This setting allows you to emulate a project with a lot of plugins and high CPU usage. Setting this to 80% will allow you to test your audio device as if it was under a lot of CPU strain.
When you turn the test tone on you will hear a pure sine wave. The sine wave will have the volume as defined and the frequency as defined. You can adjust the frequency to find a setting that is more pleasing to your ears if you like.
It is also important to note that you should always drop the volume down as low as possible before turning the test tone on. If you turn on the test tone with the volume too loud you could risk damaging your speakers or worse, your hearing.
Using Test Tone To Set Buffer Size
Setting a good buffer size is important for building a creative environment inside your DAW. Without a proper setup, an overloaded Ableton project can be extremely frustrating to work with.
Problems like audio drop-outs, latency issues, and hindered creativity are symptoms of a poorly set up audio interface.
When setting up your audio interface you’ll want to find a good compromise between audio drop-outs and latency.
The lower the buffer size, the lower the latency. However, lower buffer sizes also make your computer work harder. This can lead to audio drop-outs.
The best setting for you is one with manageable latency and minimal audio drop-outs at 80% simulated CPU usage.
Follow these steps to optimize your audio interface buffer settings.
- Open preferences and navigate to the Audio tab
- In the Test section, set the volume to -70dB
- Set the CPU Usage Simulator all the way to 80%
- Now turn on the Test Tone and slowly bring the volume up to a reasonable level
- Change your buffer size until the distortion dissappears
Using Test Tone To Find Problem Frequencies
Finding problem frequencies in your room is an added bonus to the test tone settings.
Simply turn on the test tone generator and sweep the frequency spectrum. You’ll want to listen for increases or decreases in volume as you sweep through.
You might find some frequencies are more pronounced than others. This would indicate that you need to adjust your speaker placement.
Author: Mike P
Hi! My name is Mike! I’ve been an apartment producer/musician for 10+ years. I’ve played in punk bands, released EDM tunes on Beatport and iTunes, and have a semi-successful stock music portfolio. Read more…