We’ve all been there, Ableton crashes all of the sudden and it won’t start up again.
Or maybe you want to upgrade from a “tester” version of Ableton Live.
You need to do a reinstall of Ableton Live!
So how do you do it properly to ensure all of your projects still work after the reinstall?
Let’s take a look!
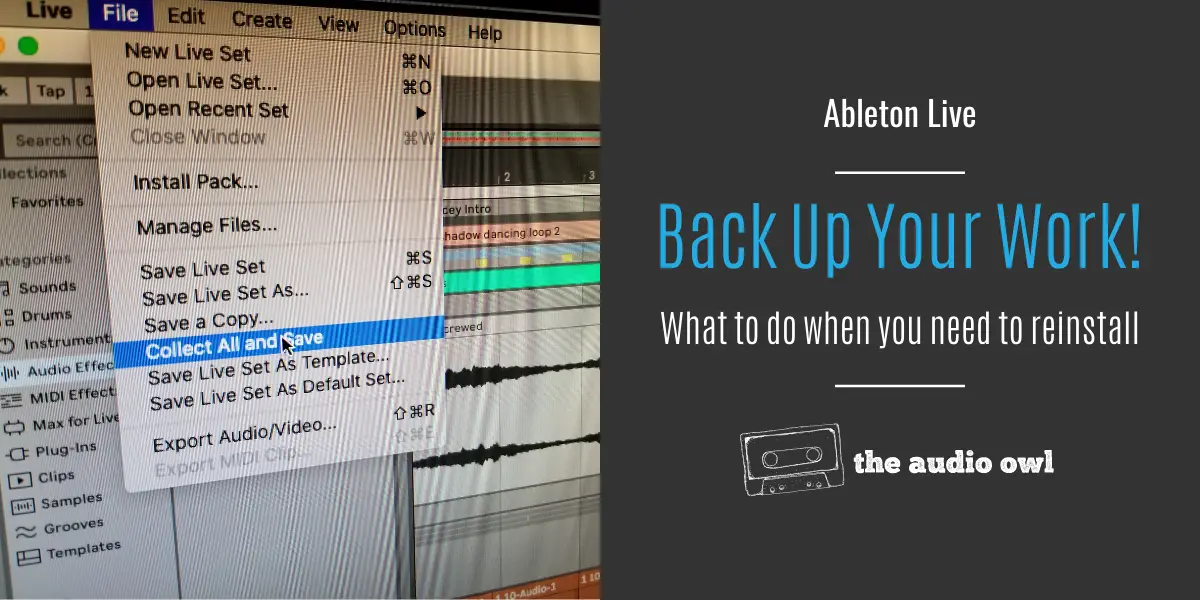
Always Collect All and Save
The most important rule you should follow always is…
Ableton Live lets you use samples from anywhere on your hard drive. While this is super convenient, it also presents problems when sharing or backing up Ableton projects.
Since your samples may not be stored in the project file of your session, if you try to share the project there will be missing files.
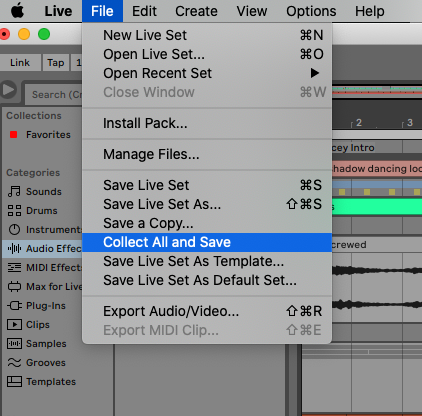
This is where Collect All and Save comes in.
Collect All and Save does exactly what it says. Using this option will collect all the samples used within your project file and save them to the project folder. This gives you a complete package to back up on your hard drive.
Any samples collected will be stored in the project files in the folder Samples → Collected.
You should note CA&S does not collect 3rd party plugins, those must be installed separately.
Backing Up Your Music Production Projects
Let’s take a look at where and what files to back up.
Where Should You Back Up Your Files?
You know you need to back up your files, but where do you do that?
Cloud Storage
The most accessible and worry-free way to back up your project files is to store them with a cloud service. Google Drive or Microsoft OneDrive are great options for this.
Storing files is as easy as dragging and dropping them into the folder in your drive.
Most of these cloud services are monthly subscriptions. The price is more than worth it, our Google Drive account costs us about $3 a month right now.
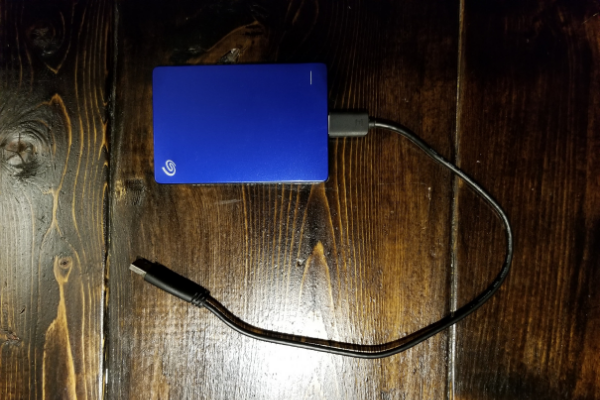
External Hard Drive Storage
An upside to backing up your files to an external hard drive is you do not need the internet to access the files.
The downside is you need to have the hard drive with you to back up your project files. For mobile producers this means extra gear to bring along but might be worth it for those times when you are away from internet access.
External hard drives are easy to find and can cost anywhere from $30 to $200 dollars.
What Files Should You Back Up?
Now that you know where to back up your files, which files should you back up?
If you can, it is recommended to back up your entire hard drive. This way if your current hard drive fails, you have a complete image to restore from.
If that is not an option for you, here are the files you will need to back up to ensure Ableton will work after a fresh reinstall.
Project Files
You should back up your project folder of course. This will be the folder where you save all of your Ableton projects. Simply copy and paste the project folder to either your cloud storage or your external drive.
Remember to collect all and save each of your projects so that all samples will be stored in the project folder.
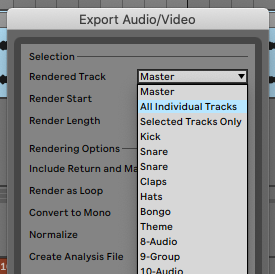
If you are really worried about your plugins not loading after the reinstall or losing presets you can bounce the entire project to audio stems. This way if something does go wrong you will at least have the audio stem to work with.
To do this, open the Export window and select All Individual Tracks. This will bounce each track to an audio stem.
User Library
The User Library is where all of your custom racks/presets/drum kits are stored. To find this folder open up the Live preferences menu and navigate to the Library tab.
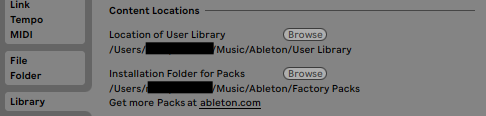
Find the folder in your operating system and copy this to your backup drive.
Sample Library
Backing up your sample library is another easy one, as long as you keep all of your samples in the same place. Just copy and paste your sample library folder to your backup drive.
Plugins
While you won’t need to back up the plugins themselves, you should back up any folders the plugins create on install. This might be where presets or impulse responses are stored.
Keep a list of all of your current plugins, this will make it easier to install them all when the time comes.
To reinstall them, simply download the latest version of each plugin and install them like you normally would.
Synth Presets
If you are big into creating custom synth patches, you will want to make sure you save all of your custom presets. This means going into every project file, looking for custom patches you’ve made, and saving them.
So many times I have forgotten this step and opened my backup projects only to find the default “init” patch loaded in my plugin synth.
Reinstalling Ableton Live
When you are ready to reinstall your copy of Ableton Live, go to the Ableton website and download the latest version. Reinstalling is as easy as running the setup or dragging the program to your Applications folder. Just like a normal install.
Installing An Older Version Of Live
To install an older version of Ableton Live you will need to go to the archive on the Ableton website. Here you will find all of the older versions you have access to with your license.
Resetting Ableton Live Preferences
If you ever need to reset your Ableton Live preferences it is super easy to do.
On a mac, just delete these files; Preferences.cfg, the Undo folder, and Template.als. You’ll find these files in a hidden folder located here: Users/[username]/Library/Preferences/Ableton/Live x.x and Users/[username]/Music/Ableton/User Library/Templates
On a PC, open the hidden folder Users\[username]\AppData\Roaming\Ableton\Live x.x\Preferences and delete Preferences.cfg and the Undo folder. To delete the templates go to this hidden folder Users\[username]\Documents\Ableton\User Library\Templates and delete the files Template.als.
TIP: you can copy the Preferences.cfg, Undo folder, and Template.als instead of deleting them. This way if resetting doesn’t fix your problem you can restore them to your previous settings.
Author: Mike P
Hi! My name is Mike! I’ve been an apartment producer/musician for 10+ years. I’ve played in punk bands, released EDM tunes on Beatport and iTunes, and have a semi-successful stock music portfolio. Read more…