Have you ever had an impulse to just slice up a drum loop and make a drum kit out of it in Ableton Live? Of course, you did! it’s an unavoidable part of producing music in a DAW.
The sheer fact that Ableton Live can transform any sound into a playable instrument makes you start to explore the endless possibilities of sampling. In that spirit, we got an impulse to talk about Ableton Lives drum sampler called “Impulse”.
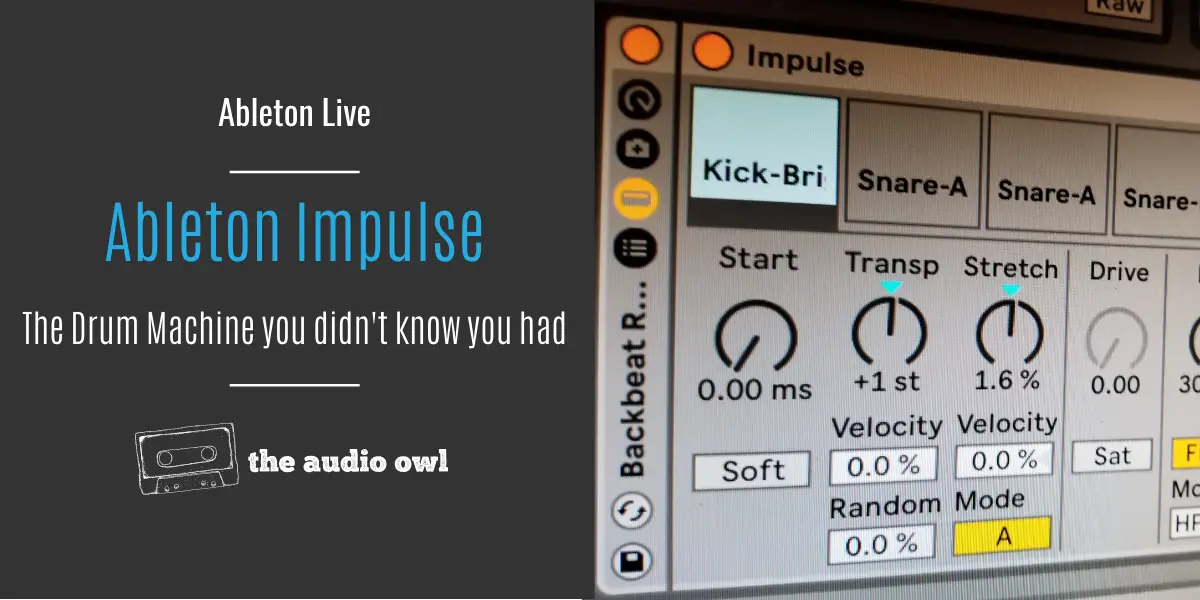
What Is Ableton Impulse
The Ableton Live Impulse is a sample launcher, but it’s imagined as a drum machine. It looks pretty simple at first glance, but once you start exploring the different parameters inside of Impulse you’ll quickly realize that it has some awesome modulation capabilities.
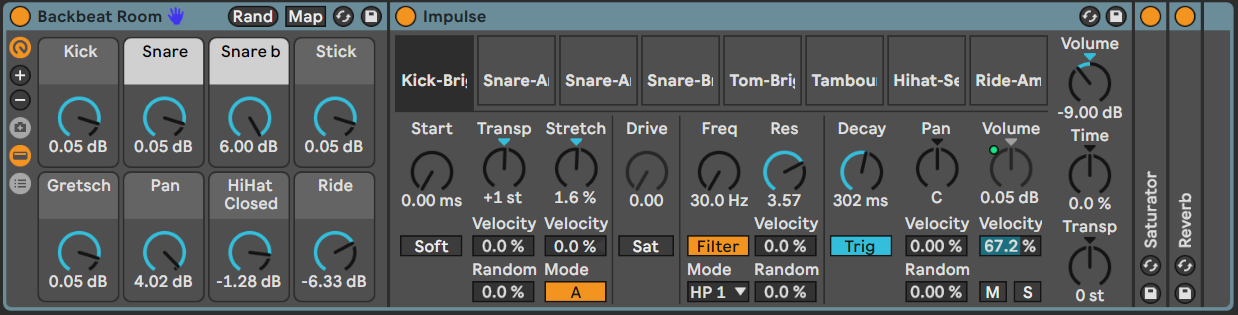
Impulse features eight sample slots/channels. Each of those sample slots can playback a single sample but without velocity switching.
Each sample slot has several parameters that control various sound shaping and mixing functions.
How To Use Impulse
The Ableton Live Impulse like any other Ableton Live instrument is fairly easy to use.
To fill the sample slots with samples you can just drag and drop samples into any of Impulse’s sample slots from the browser or the Session and Arrangement Views.
Let’s say you filled up Impulse and each of the eight slots has a sample loaded into it. To play those samples you don’t need to map the different drum pads because they are already mapped. To play your awesome new drum kit just hit any of the white keys between C3 to C4!
Shaping The Samples
Impulse is not just a drum kit maker, it also features some advanced modulation capabilities that can not only shape your sounds but transform them into new sounds.
Let’s take a look at the different parameters we can find in Impulse.
Time Parameters
Starting from the left we can find the Start, Transpose and Stretch parameters.
Start – this parameter lets you pick the start of your sample.
Transpose – transpose lets you tune your sample. The pitch can range from -48 to +48 values.
Stretch – this parameter is one of the advanced modulation possibilities of Impulse. It ranges from -100 to +100 values. It can either tighten up your sample or stretch it until you start hearing glitchy artifacts!
Below these parameters, there are two velocity parameters. Introducing this parameter will make the knobs above velocity-sensitive. Below them, you will also find a parameter named “Random” which randomly switches the velocity of the transpose knob. And lastly, you will find the mode switch.
Drive and Filters
Moving to the right we can find the drive parameter, the filter section, volume controls, and lastly the global control parameters.
Drive – this parameter won’t be engaged unless you enable the saturation button below it. The drive parameter can give your samples subtle saturation or nasty distortion.
Filter – when it comes to filters the Ableton Live Impulse packs seven filters. In the array of filters, you will find two instances of the low-pass, high-pass, and band-pass. They are marked with numbers 1 and 2. Number 2 has a steeper slope than the two. Lastly, you will find a notch filter at the bottom.
The filter is bypassed unless you engage the filter button. Just like the transpose parameter the filter parameter has also a velocity and random parameter that modulates it.
Decay Settings
The Ableton Live Impulse wouldn’t be a real drum machine without a dedicated decay know for each sample. So lastly on the right side, you’ll find the decay knob, pan knob, and volume knob.
Below the decay knob, you will find a switch. This switch can either change to trigger or gate. If changed to “trigger” the sample will be affected by the decay knob, but if changed to “gate” then the decay knob will be bypassed.
Below the pan knob, you will find the same set of velocity and random parameters that we mentioned earlier. These parameters will only affect the pan knob.
And lastly, below the volume knob, you will find a velocity parameter that modulates the volume knob. You will also find the mute and solo buttons in this section of Impulse. The mute button is marked with an “M” while the solo parameter is marked with an “S”.
Global Parameters
On the very right side of the Ableton Live Impulse drum machine, you will find the global parameters. These parameters affect all sounds that come out of Impulse.
At the top, you will find the global volume knob.
In the middle, you will find a knob called “Time”. This parameter can either stretch the entire sample rack or in other words stretch their decay time or it can make them super short and snappy. It works similarly to the time knob in the Ableton Live multiband compressor.
At the bottom, you will find the global transpose parameter. This parameter alone can take your entire drum rack into a whole other dimension!
Author: Nadir
Hi there, my name is Nadir aka Nadrisk. I’ve been a bedroom music producer for 8+ years. I do everything in the box and I use Ableton Live as my weapon of choice. Apart from music production, I do mixing and mastering, audio/video editing, and sound design.
Listen to Nadrisk Here