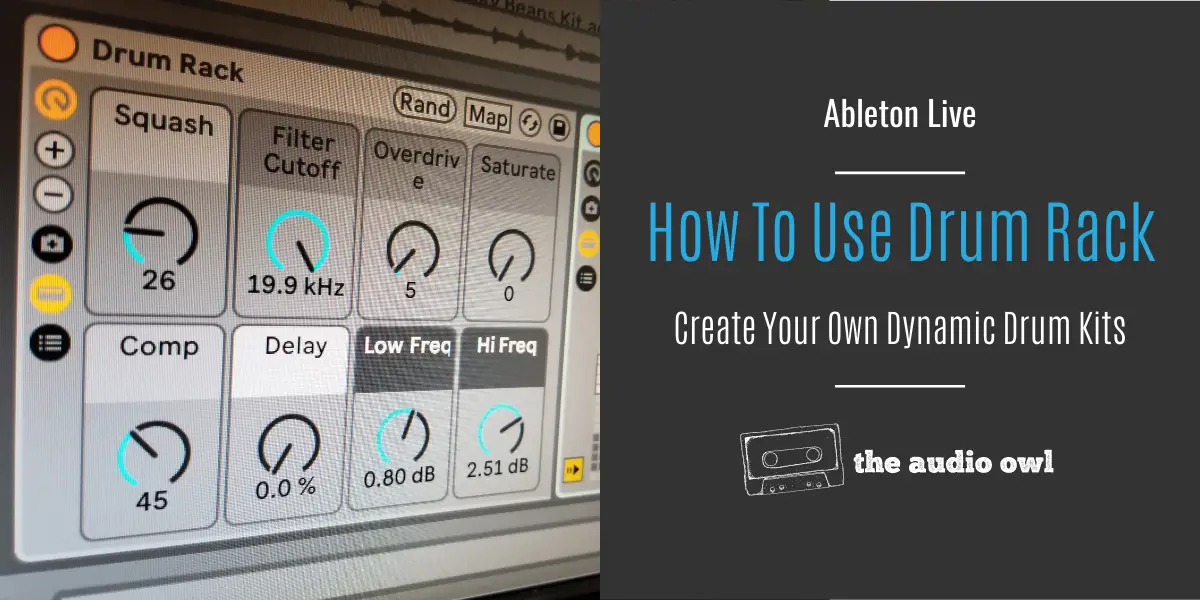
There is no better way to start a song than jamming out on a drum rack with your midi controller. Drum racks are an essential tool in modern music production. They make life easier for producers and spark up the creative process. Every modern daw has its own version of a drum rack, but we are going to talk about the Ableton Live drum rack.
What Is Drum Rack?
If you power up Ableton Live and go under the instruments tab you will see a conveniently named plugin called “Drum Rack”. It’s called Drum Rack, but when you load it up you can quickly figure out it’s more of a sample rack or instrument rack.
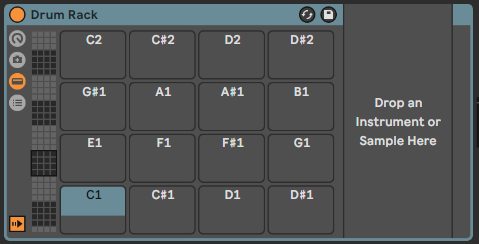
Ableton Live Drum Rack has up to 128 pads!
On each of these pads, you can place any instrument you want and launch it via midi triggers. Pair that with Ableton Live’s amazing grouping system and you can build an entire song using just one instance of Drum Rack!
In addition to adding instruments and samples, you can also add your favorite effects.
If you are new to Ableton Live Drum Rack you are probably mind blown by now. Using Drum Rack is as easy as it looks and we are going to walk you through the process of setting up a drum kit.
Drum Racks Pads
The first instinct when loading up Drum Rack is to build a drum kit and load up a nice-sounding kick sample. But why lock yourself inside the box of drum kits when you can load a synth inside the Drum Rack instead and create a synth rack!
To load either one of those you simply just drag and drop your sound of choice into any pad your heart desires.
Creating Tracks From Drum Rack
You can use Drum Rack as a tool to quickly sketch out song ideas, but if you want more control over the arrangement of your track you can extract all your pads out of the Drum Rack and into individual tracks.
You can do this in both arrangement view and session view.
When viewing in the arrangement view simply drag your desired pad out of the Drum Rack into the mixer area.
But when viewing in the session view the process is a bit different.
First, you need to click on the “Chain Mixer Fold Button” which is marked with an arrow to the right of the Drum Rack. This will enable you to view all individual pads as channels. Then you simply highlight your desired pad and drag it out of the Drum Rack.
Both of these methods will create a new Drum Rack after you pull your pad out of the first one. If you wish to have just the instrument or sample and not the drum rack you have to use a different method.
All instruments and samples in the drum rack have their individual chain which can be grouped and pulled out.
For example, you added a kick sample into your Drum Rack and you added a delay into the chain. In reality, you created an instance of the Sampler and chained a delay to the sampler.
Now you wish to pull out the sampler containing your kick sample and the delay chained to it out of the drum rack into a new track.
You first have to group the delay and sampler and then drag that group out of the Drum Rack just like before only now you will create a unique midi track containing your kick sample and delay.
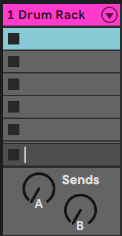
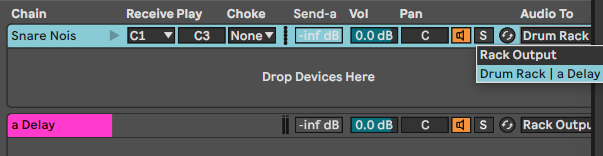
Drum Rack’s Send and Return Channels
The Ableton Live Drum Rack comes with its own send and return channels as well.
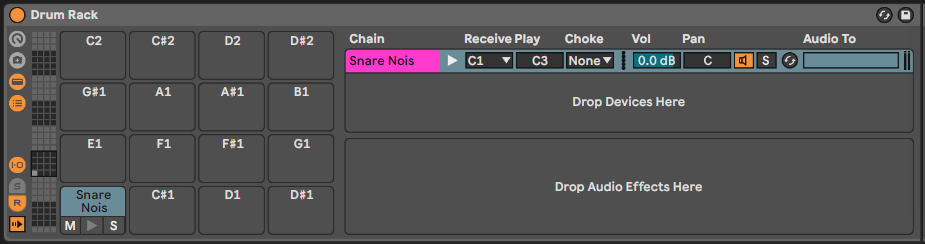
Hidden under the “Show/Hide Chain List” this amazing feature allows you to do some nifty processing you otherwise wouldn’t be able to do.
To create send channels simply drop effects into the send rack. Every send channel will be labeled with a letter. Then under the drop-down menu labeled “Audio To” you will see all your send channels and you can choose one of those suggested.
Muting Sounds With Chokes
Another great feature of the Ableton Live Drum Rack is the ability to choke one sound while another one is being played. Choking sounds comes from a technique drum players use when playing their cymbals.
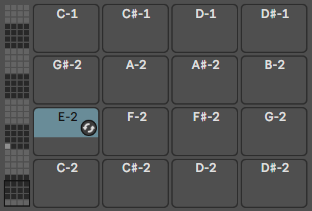
Choking sounds in the Ableton Live Drum Rack is as simple as engaging the “Choke” drop-down menu which will list all your drum pads using numbers. Then you simply select the pad number of the pad you want to choke and you are all set!

Creating Macros In Drum Rack
This feature is probably the coolest feature out of them all when talking about the Ableton Live Drum Rack.
Macros are useful in so many ways and they can make your drum/sound kit more interesting and fun to play with.
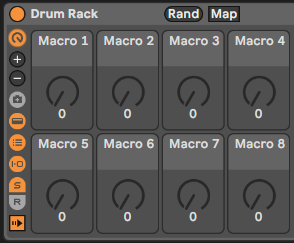
Macros can be found on the left side after clicking on the “Show/Hide Macro Controls” button.
You can create up to 16 macros!
Macros are used to control parameters of your effects and instruments inside of Drum Rack.
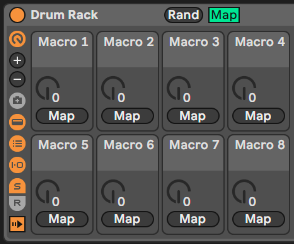
To map macros you simply need to click on the “Map” button. Then click on a parameter you wish to map for example the dry/wet knob of a delay effect.
After that, you will see that all of your macros have a “Map” button under their knob. Clicking on the map button under one of your macro knobs will map that parameter to that knob.
You can map any number of parameters to just one knob.
Hot-Swapping Samples in Drum Rack
If at any point you wish to change the sample of your pad Drum Rack has a cool feature that can help you out. It’s called “Hot-Swap” and it can be engaged by clicking its designated button when hovering over a pad. This will open up Lives browser allowing you to quickly audition your new sample!
Conclusion
There are many things that can be done with just one instance of the Ableton Live Drum Rack. Get creative and explore the endless possibilities of one of Lives simplest plugins.
Author: Nadir
Hi there, my name is Nadir aka Nadrisk. I’ve been a bedroom music producer for 8+ years. I do everything in the box and I use Ableton Live as my weapon of choice. Apart from music production, I do mixing and mastering, audio/video editing, and sound design.
Listen to Nadrisk Here